Table Of Contents:
- Mastering the Art of Roasting Green Coffee Beans at Home
- Key Takeaways
- Understanding Green Coffee Beans
- Why Roast Coffee Beans at Home
- Essential Equipment for Home Roasting
- Choosing the Right Green Coffee Beans
- Preparing Your Roasting Space
- Step-by-Step Guide to Roasting Coffee Beans
- Exploring Different Roast Levels
- Cooling and Storing Your Roasted Beans
- Troubleshooting Common Roasting Issues
- Enhancing Your Home Roasting Skills
- Frequently Asked Questions
- Conclusion
Have you ever wondered why your home-brewed coffee doesn’t taste as fresh as the local roastery’s? Roasting green coffee beans at home might be the answer. This guide will walk you through the process of home coffee roasting, covering essential equipment, bean selection, and step-by-step roasting techniques. By mastering this art, you’ll elevate your coffee experience, ensuring the freshest, most flavorful cup every time. Whether you’re a coffee enthusiast or a budding roaster, this article will help you unlock the full potential of your coffee beans, from crop to cup.
Key Takeaways
- Proper ventilation and safety are crucial when setting up a home coffee roasting space
- Experimenting with different bean origins expands flavor profiles and enhances roasting skills
- Keeping a detailed roasting log helps track progress and refine techniques over time
- Rapid cooling and proper storage are essential for preserving the quality of freshly roasted beans
- Joining home roasting communities provides valuable insights, support, and learning opportunities
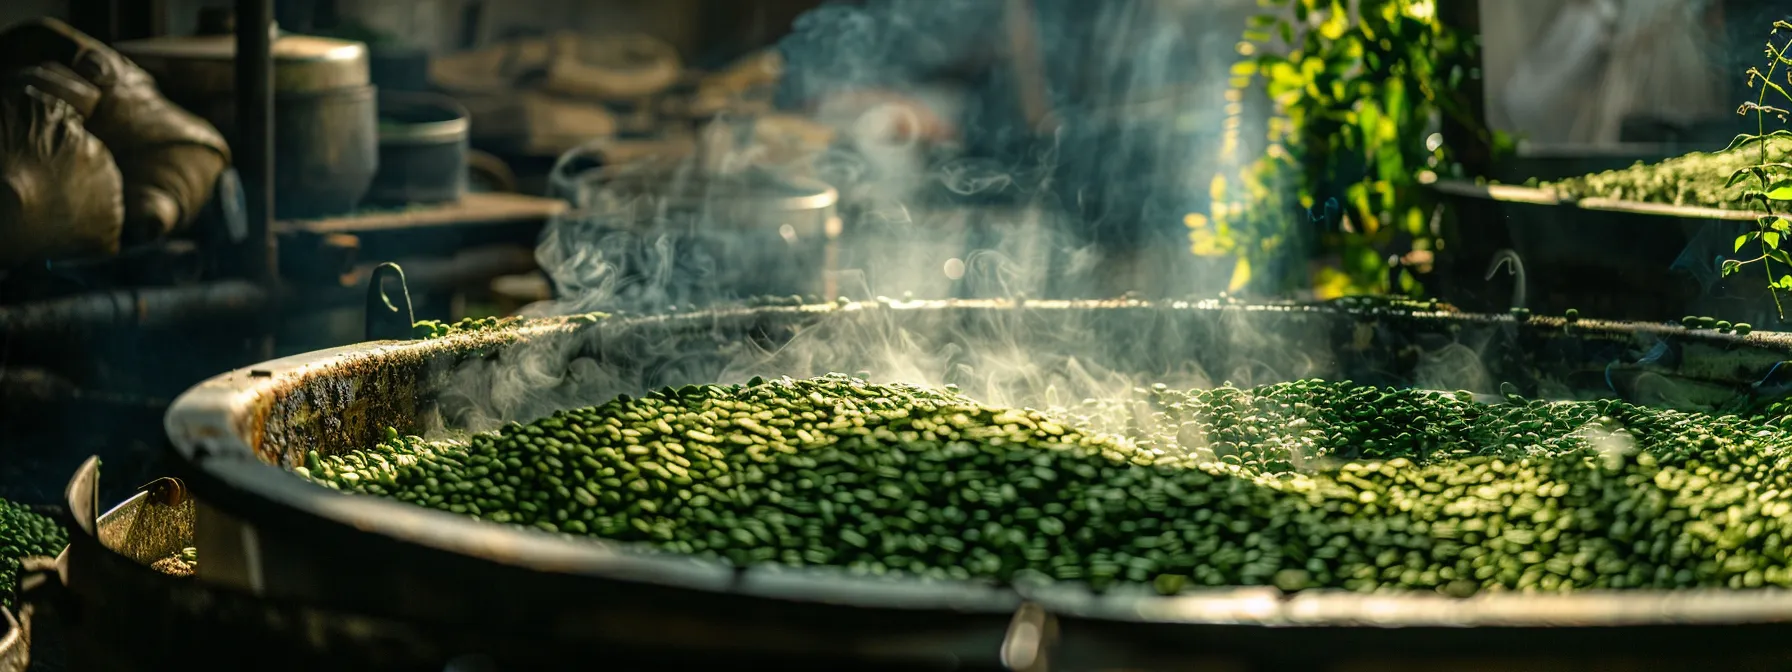
Understanding Green Coffee Beans

Green coffee beans are the foundation of great espresso. I’ll explore their definition, origin, and journey from harvest to your home. We’ll delve into the benefits of using green beans from renowned regions like Colombia and Guatemala. Understanding these raw beans is crucial for mastering home roasting with coffee roasters and achieving the perfect water-to-coffee ratio in your brew.
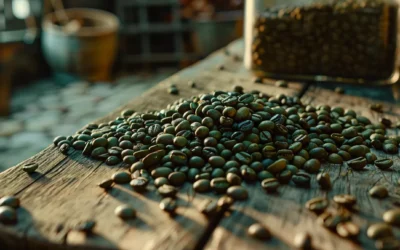
Defining Green Coffee Beans and Their Origin
Green coffee beans are the raw, unroasted seeds of coffee cherries. I source these beans from renowned coffee-growing regions like Costa Rica, Honduras, and Ethiopia. Each origin imparts unique flavors to the beans, from the chocolatey notes of Costa Rican beans to the floral hints in Ethiopian varieties.
The journey of green coffee beans begins with harvesting ripe coffee cherries. In some regions like Honduras, producers use the honey process, which leaves some fruit on the bean during drying, enhancing sweetness. I find that understanding these origins and processing methods is crucial for achieving the perfect roast at home.
The Journey From Harvest to Your Home
After harvesting, green coffee beans undergo processing to remove the fruit and prepare them for roasting. I’ve found that the method used, such as the washed process common in El Salvador, significantly impacts the bean’s acidity and flavor profile. These beans then embark on a journey across continents, carefully packaged to preserve their quality and taste potential.
As a home roaster, I receive these green beans ready for the final transformation. The acid content and fruit notes present in beans from regions like El Salvador provide an excellent foundation for coffee roasting. I’ve learned that understanding the bean’s origin and processing method is crucial for developing the perfect roast profile and bringing out the best flavors in each batch.
Benefits of Using Green Coffee Beans
Using green coffee beans for home roasting offers numerous benefits. I’ve found that these raw beans, particularly those from Brazil, retain more antioxidants and chlorogenic acid compared to pre-roasted coffee. This makes them an excellent choice for those interested in potential weight loss and hypertension management benefits, similar to green tea.
As a home roaster, I appreciate the flexibility green beans provide. I can experiment with different roast levels to achieve my desired flavor profile. Additionally, purchasing fair trade green beans allows me to support sustainable farming practices and ensure farmers receive fair compensation. The benefits of using green coffee beans include:
- Higher antioxidant content
- Potential health benefits
- Customizable roast levels
- Support for fair trade practices
- Extended shelf life compared to roasted beans
Green coffee beans hold promise. But their true potential emerges through roasting at home.
Why Roast Coffee Beans at Home

I’ve discovered that roasting coffee beans at home offers multiple benefits. It enhances flavor control, allowing me to experiment with fermentation techniques like those used in Mexico. Home roasting also saves money and personalizes my coffee experience. As a bonus, I can explore the potential of coffee as a dietary supplement, particularly Coffea canephora’s effects on diabetes management.
Enhancing Flavor and Aroma Control
I’ve found that roasting coffee beans at home gives me unparalleled control over flavor and aroma. By adjusting roast profiles, I can bring out the unique characteristics of beans from regions like Indonesia and Sumatra, enhancing their complex flavor notes and rich aromas. This level of control allows me to create custom blends tailored to my taste preferences.
Home roasting also enables me to experiment with different roast levels and their impact on green coffee extract content. I’ve noticed that lighter roasts tend to retain more of the beneficial compounds associated with potential blood pressure benefits. By fine-tuning my roasting process, I can optimize both flavor and potential health benefits, ensuring each batch is perfect before it reaches my cart.
Saving Money With Home Roasting
I’ve discovered that roasting green coffee beans at home significantly reduces my coffee expenses. By purchasing raw Coffea arabica beans from regions like Peru and New Guinea, I save up to 50% compared to buying pre-roasted specialty coffees. This cost-effectiveness allows me to enjoy high-quality, freshly roasted coffee without breaking the bank.
Home roasting also gives me the flexibility to experiment with different flavor profiles. I can adjust the roast level to bring out the natural sugars in the beans or add spices during the roasting process for unique blends. This versatility not only saves money but also enables me to create custom coffees tailored to my taste preferences, making each cup a personalized experience.
Personalizing Your Coffee Experience
Roasting coffee beans at home allows me to create a personalized coffee experience tailored to my health preferences. I can experiment with beans from Panama and other Central American regions, adjusting roast levels to enhance specific flavor profiles and potential health benefits. This hands-on approach lets me craft a drink that aligns perfectly with my taste and wellness goals.
By roasting my own beans, I’ve discovered unique flavor nuances in coffees from Kenya and other origins. I can fine-tune the roast to bring out subtle notes that might be lost in commercial roasting processes. This level of customization ensures that every cup I drink is a reflection of my personal coffee journey:
The journey begins with green beans. To transform them, you’ll need the right tools.
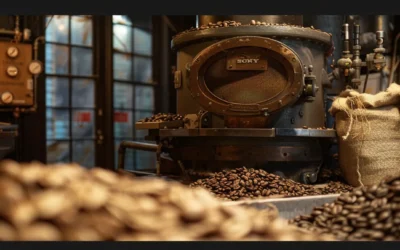
Essential Equipment for Home Roasting
I’ve found that selecting the right equipment is crucial for home roasting. From choosing a coffee roaster to essential tools and optional gadgets, each piece plays a role in crafting the perfect roast. Whether you’re working with cherries from Nicaragua or beans from Papua New Guinea, proper equipment helps preserve chlorogenic acid content, potentially benefiting those with type 2 diabetes.
Selecting a Home Coffee Roaster
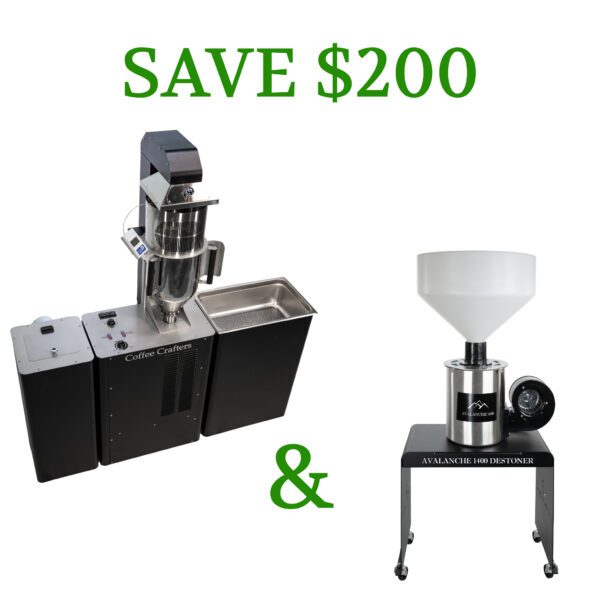
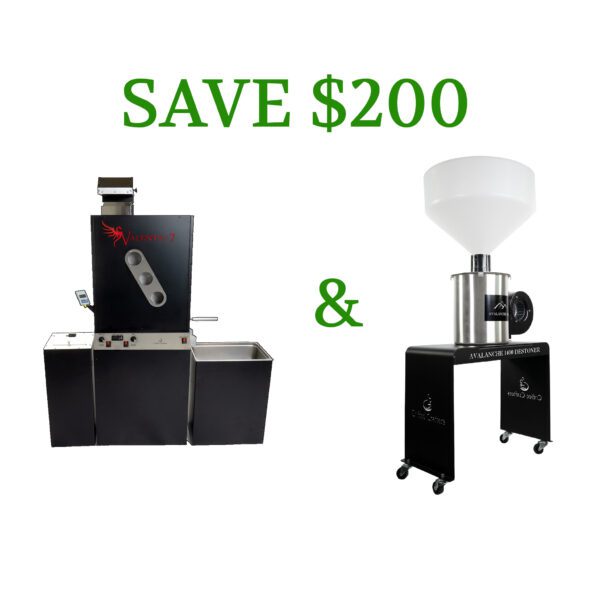
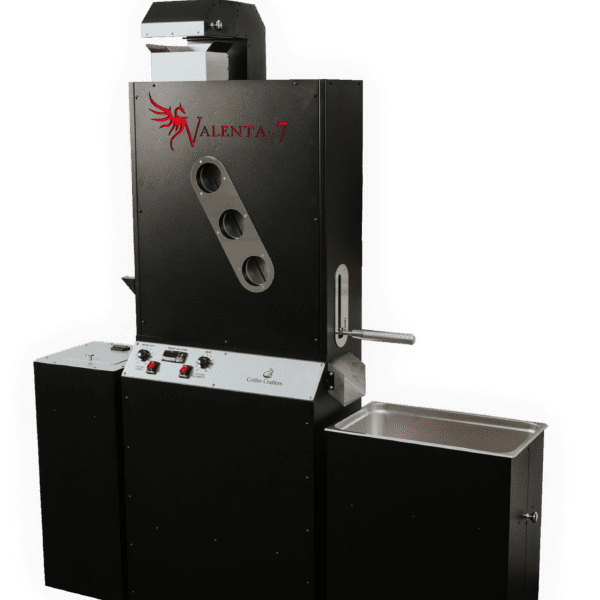
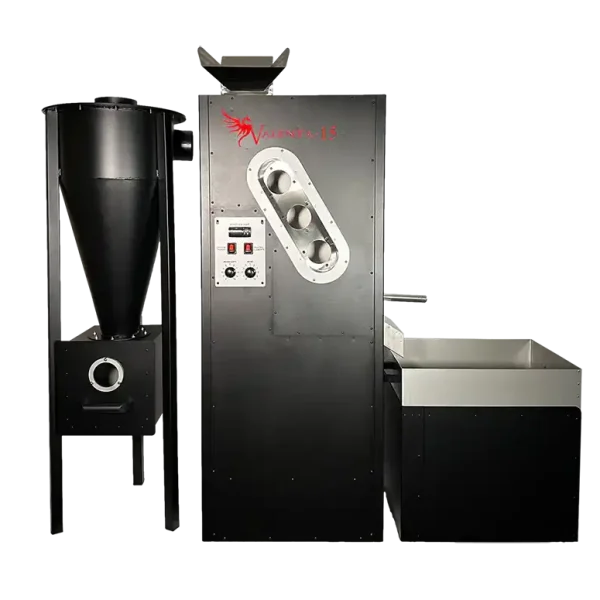
The Valenta 3 is the home coffee roaster of choice and is crucial for achieving consistent results. When choosing a roaster, I consider factors like capacity, heat source, and control options. For instance, I prefer roasters that can handle beans from South America, like those from the Dominican Republic, which often have a complex flavor profile with berry notes.
My experience has shown that investing in a quality roaster reduces the risk of uneven roasts and helps preserve valuable nutrients. Coffee Crafters coffee roasters even allow me to monitor temperature curves, ensuring I maintain the optimal level of vitamin content in my beans. This precision is especially important when working with delicate beans from regions known for their unique flavors.
Must-Have Tools and Accessories
I’ve found that investing in essential tools greatly enhances my home roasting experience. A reliable thermometer helps me monitor bean temperature, crucial for achieving the perfect roast and preserving the anxiety-reducing properties of coffee. I also use a scale to compare green bean weights before and after roasting, ensuring consistency in my coffee production.
My must-have accessories include a cooling tray for quickly stopping the roast process and heat-resistant gloves for safe handling. When working with specialty beans like peaberry, I use a colander for chaff removal, preserving the unique flavors. These tools not only improve my roasting results but also make the process more enjoyable and less stressful.
Optional Gadgets to Improve Your Setup
I’ve found that incorporating optional gadgets can significantly enhance my home roasting setup. One device I particularly enjoy is a data logger, which allows me to track temperature curves when roasting beans from Tanzania. This helps me achieve consistent results and optimize the stimulant effects of my coffee. Another useful addition is a smoke suppression system, which makes indoor roasting more pleasant, especially when working with oily beans from North America.
To fine-tune my roasts, I use a color analyzer to assess the development level of my beans accurately. This tool helps me achieve the perfect roast for each batch, whether I’m aiming for a light roast to preserve fat-burning compounds or a darker roast for a bolder flavor. I’ve also invested in a small grinder specifically for sampling, allowing me to test different dose levels and adjust my roasting parameters accordingly.
With the right equipment in hand, we’re ready for the next step. Selecting the perfect green coffee beans is where the magic truly begins.
Choosing the Right Green Coffee Beans

I’ve found that selecting the right green coffee beans is crucial for successful home roasting. I’ll explore different bean varieties, including those from Africa and Bolivia, and discuss how to source from trusted suppliers. I’ll also cover key factors to consider when buying beans, based on research about their effects on metabolism and how they respond to roasting pressure.
Exploring Different Coffee Bean Varieties
I’ve discovered that exploring different coffee bean varieties from regions like Burundi, Haiti, and Java enhances my home roasting experience. These diverse origins offer unique flavor profiles, with Burundi beans often featuring bright acidity and fruity notes, while Haiti’s coffee carries a rich, full-bodied taste. I’ve found that experimenting with various beans allows me to create custom blends tailored to my preferences and weight management goals.
When sourcing beans from Guinea or Java, I pay close attention to their potential impact on metabolism and roasting behavior. Java beans, known for their heavy body and low acidity, respond well to longer roasting times, while Guinea’s coffee often requires a gentler approach to preserve its delicate flavors. By understanding these characteristics, I can adjust my roasting techniques to bring out the best in each variety.
Sourcing Beans From Trusted Suppliers
I source my green coffee beans from trusted suppliers who prioritize sustainability and fair trade practices. These suppliers often work directly with farmers, ensuring the beans I receive are of specialty coffee quality and ethically sourced. By choosing reputable suppliers, I can trace the origin of my beans and understand the unique characteristics that will influence my roasting process and the final extract.
When selecting suppliers, I look for those who provide detailed information about their beans, including origin, processing method, and flavor notes. This knowledge helps me anticipate how the beans will react during roasting, allowing me to achieve the perfect caramel notes in my coffee. I’ve found that building relationships with reliable suppliers not only improves the consistency of my roasts but also supports sustainable coffee production practices.
Factors to Consider When Buying Beans
When buying green coffee beans, I consider several factors to ensure the best roasting results. I look for beans from reputable regions like Uganda, known for their unique flavor profiles and evidence-based health benefits. I also pay attention to the bean’s processing method, as it affects the final taste and can influence the presence of desirable compounds in the roasted coffee.
I’ve found that altitude plays a crucial role in bean quality, with high-altitude beans from places like La Paz, Bolivia often offering more complex flavors. I also consider the harvest date, preferring fresher beans for optimal roasting results. When selecting beans, I look for descriptors that match my desired flavor profile, such as peach notes in some African coffees or the nutty undertones common in beans from the United States. Here are the key factors I consider:
- Origin (e.g., Uganda, United States, La Paz)
- Processing method (washed, natural, honey)
- Altitude of cultivation
- Harvest date and freshness
- Flavor profile descriptors (e.g., peach notes)
- Certifications (organic, fair trade)
Green beans selected. Time to set up the roasting space. The transformation begins here.
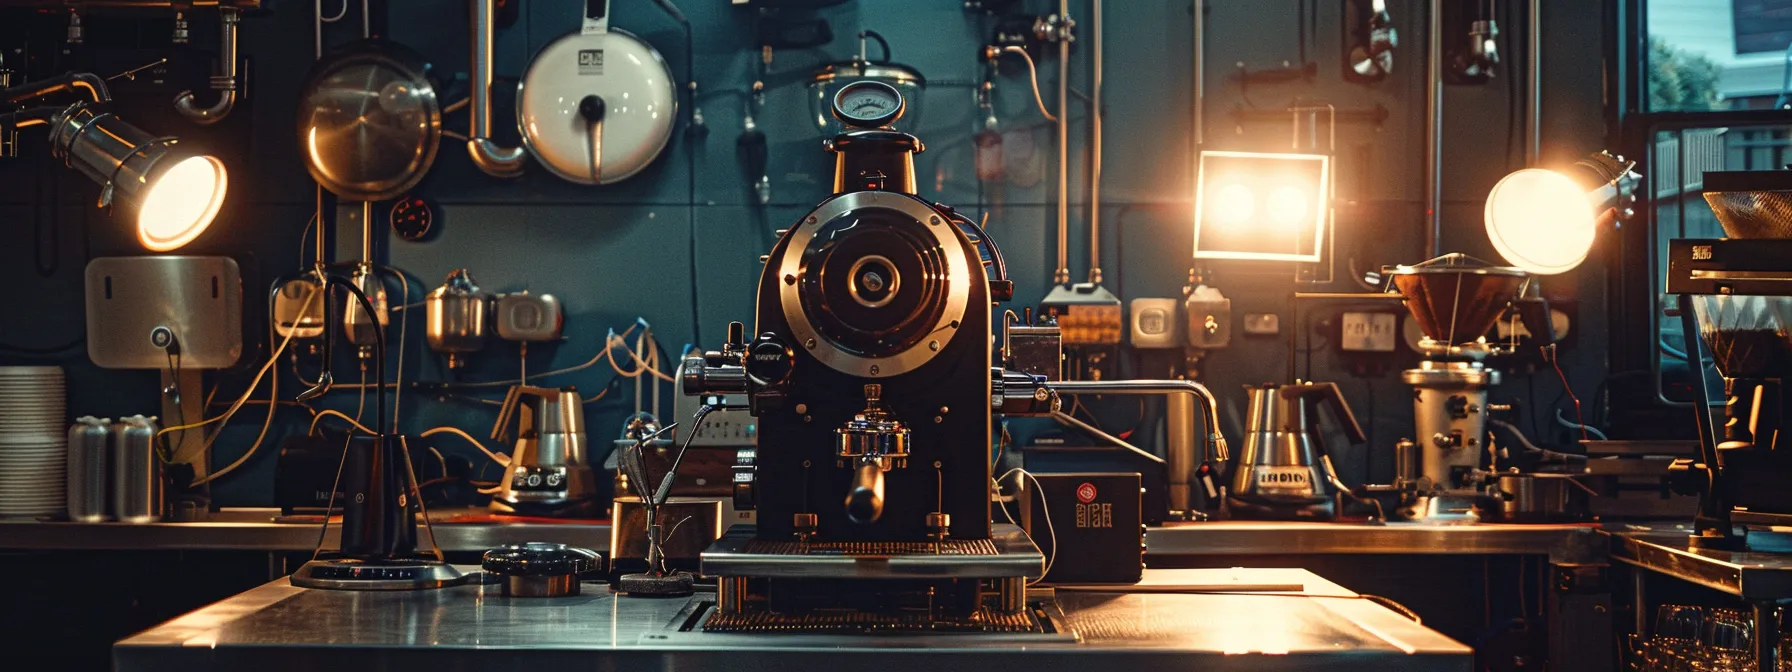
Preparing Your Roasting Space
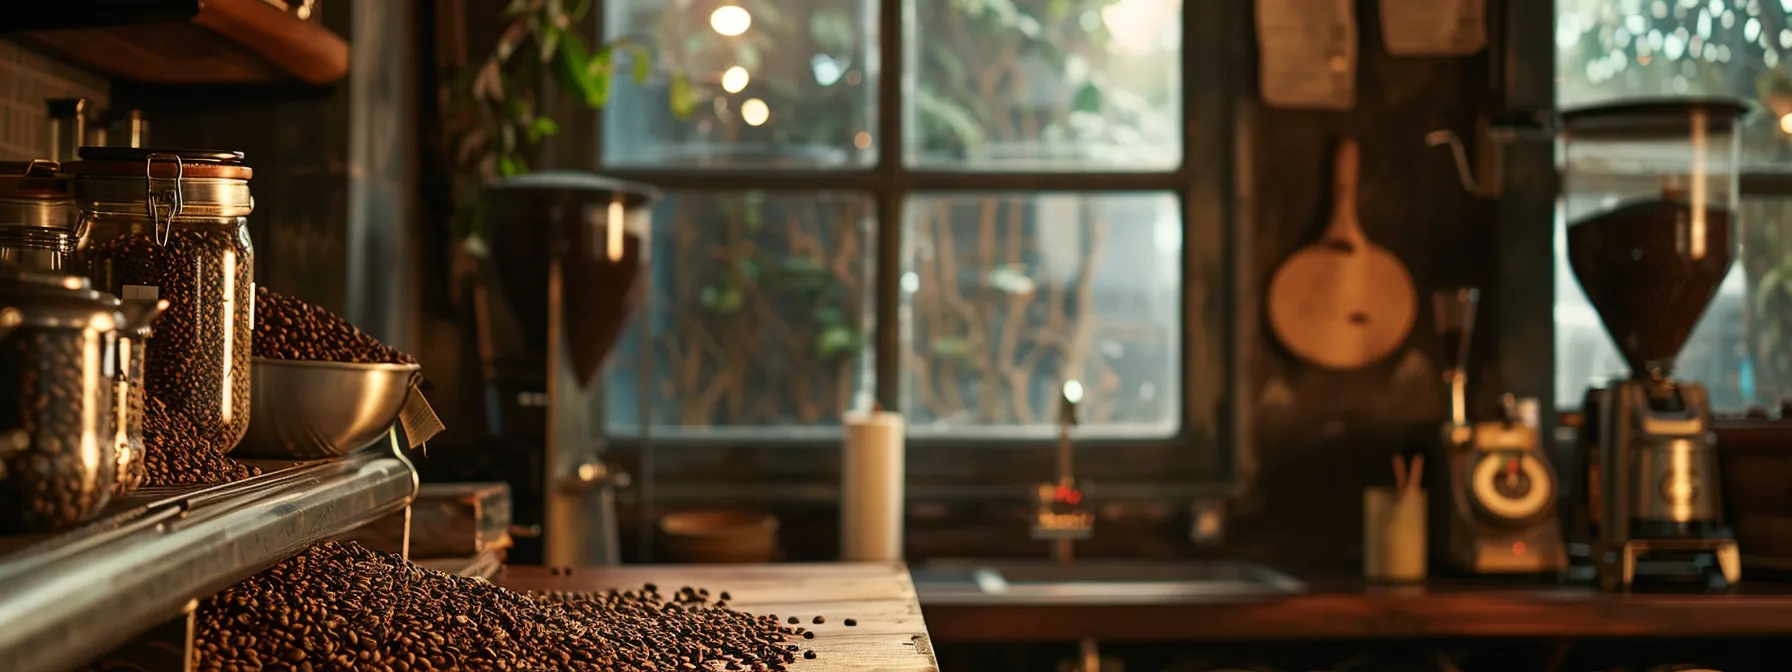
I’ve found that preparing the right roasting space is crucial for success. I’ll share how to set up a safe area, manage ventilation, and organize tools. Proper preparation enhances the roasting process, allowing me to capture the antioxidant-rich flavors of beans from Bali, with their unique sweetness and citrus notes. I’ll even discuss how to incorporate vanilla for added complexity.
Setting Up a Safe and Efficient Area
I’ve set up my roasting area with safety and efficiency in mind, considering the unique challenges of working with beans from the Caribbean and Rwanda. I’ve placed my roaster near a window for ventilation, crucial when dealing with the varying moisture content of beans from different climates. This setup allows me to capture the delicate strawberry notes often found in Rwandan coffees while maintaining a safe environment.
To streamline my supply chain and roasting process, I’ve organized my tools and green beans in easily accessible storage containers. This arrangement helps me quickly select the right beans for each roast, whether I’m working with a fruity Caribbean variety or a more complex Rwandan coffee. My efficient setup enables me to focus on perfecting my roast profiles and adapting to the unique characteristics of beans from different origins:
Managing Ventilation and Smoke
I’ve found that proper ventilation is crucial when roasting coffee beans, especially when working with varieties from Vietnam or Sulawesi. I use a powerful exhaust fan to remove smoke and chaff, which helps preserve the unique flavor notes of these beans. This setup allows me to capture the complex flavors of Vietnamese coffee, known for its bold, earthy profile, without compromising air quality in my roasting space.
To further manage smoke, I’ve installed a filtered ventilation system that helps remove particulates from the air. This is particularly useful when roasting beans with high oil content, like those from Sulawesi, which can produce more smoke during the roasting process. As a barista, I’ve learned that this clean air environment not only improves the roasting experience but also helps maintain the integrity of delicate flavors, such as the subtle orange notes found in some Vietnamese coffees.
Organizing Tools and Ingredients
I’ve organized my roasting tools and green coffee beans to streamline my workflow. I store beans from Jamaica and other origins in airtight containers to preserve their unique flavors, like the lime notes often found in Jamaican Blue Mountain coffee. My roasting log, thermometer, and cooling tray are always within reach, allowing me to quickly adjust my technique based on each farm’s unique bean characteristics.
I’ve dedicated a section of my workspace to sample roasting, where I test small batches of green beans from various farms. This setup helps me identify the best roasting profiles for each origin, ensuring I capture the delicate pineapple notes in some Jamaican varieties. By keeping my tools and ingredients well-organized, I can focus on perfecting my roasts and exploring the diverse flavors each green bean offers.
Space ready. Equipment primed. Now, the real work begins. Let’s dive into the art of transforming raw beans into liquid gold.
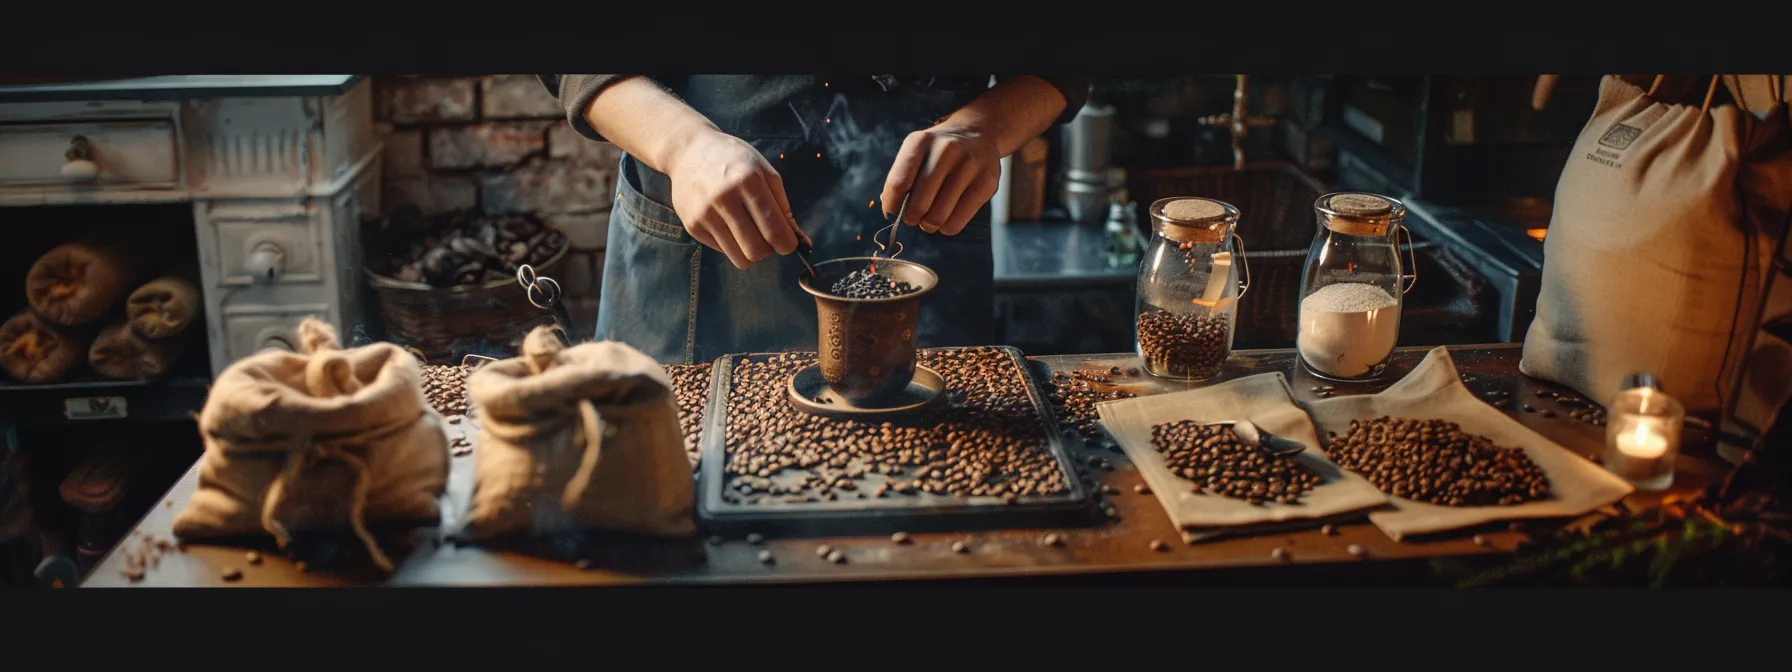
Step-by-Step Guide to Roasting Coffee Beans
I’ll guide you through the home roasting process, from preheating equipment to identifying key stages and deciding when to stop. We’ll explore how to measure and add green beans, including those from Yemen known for their black tea notes. I’ll share tips on monitoring the roast to preserve caffeic acid content and achieve desired flavors, like the cinnamon notes in some varieties.
Preheating Your Roasting Equipment
I always start my roasting process by preheating my equipment. This crucial step ensures consistent heat distribution and prevents temperature fluctuations that could affect the roast profile. I set my roaster to the appropriate starting temperature, typically around 350°F (175°C), depending on the bean variety and desired roast level.
While the roaster heats up, I prepare my green coffee beans and other tools. This preheating time allows me to review my roasting notes, check the moisture content of the beans, and set up my cooling tray. I’ve found that proper preheating significantly improves the consistency of my roasts, especially when working with delicate beans that require precise temperature control:
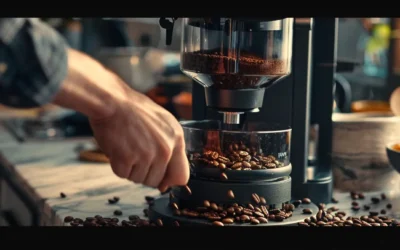
Measuring and Adding Green Beans
I measure my green coffee beans precisely to ensure consistent results. Using a digital scale, I weigh out the appropriate amount for my roaster’s capacity, typically 200-300 grams for a small batch. I’ve found that accurate measurements are crucial for achieving the desired roast profile and preserving the unique characteristics of each bean variety.
When adding the beans to my preheated roaster, I pour them in quickly and evenly to ensure uniform heat distribution. I’ve learned that the initial contact between the beans and the hot surface is critical for kickstarting the roasting process. By adding the beans efficiently, I can maintain better control over the roast development and capture the complex flavors unique to each origin.
Monitoring the Roasting Process
I closely monitor the roasting process by observing the beans’ color changes and listening for the first and second cracks. I use a digital thermometer to track the bean temperature, adjusting the heat as needed to maintain the desired roast profile. This careful monitoring allows me to capture the unique flavors of each bean variety and achieve consistency across batches.
As the roast progresses, I pay attention to the aroma development, which provides valuable cues about the roast stage. I’ve learned to recognize the subtle scent changes that indicate the transition from grassy to caramel notes, helping me time the roast perfectly. By combining visual, auditory, and olfactory cues with temperature data, I can make precise adjustments to bring out the best in each batch of green coffee beans.
Identifying Key Roasting Stages
I’ve learned to identify key roasting stages by closely observing color changes and listening for distinct sounds. The first stage, drying, is characterized by the beans turning from green to yellow. As the roast progresses, I watch for the beans to transition to light brown, signaling the beginning of the Maillard reaction, where complex flavors start to develop.
During the later stages, I listen for the first crack, which sounds like popcorn popping and indicates the start of light roast. If I’m aiming for a darker roast, I continue until I hear the second crack, a more subtle sound that marks the beginning of dark roast characteristics. By recognizing these stages, I can consistently achieve my desired roast level and flavor profile.
Deciding When to Stop the Roast
I decide when to stop the roast based on visual cues, aroma, and the sound of cracks. For a light roast, I typically stop shortly after the first crack, when the beans have expanded and developed a light brown color. If I’m aiming for a medium roast, I continue until the beans reach a rich brown shade and emit a sweet, caramel-like aroma.
For darker roasts, I extend the process until just before or at the beginning of the second crack. I’ve found that stopping at this point preserves the bean’s oils and complex flavors while achieving a deep, chocolatey taste. By carefully timing the end of the roast, I ensure that each batch reaches its optimal flavor profile and aroma.
The roast levels beckoned, each promising a unique flavor profile. We ventured deeper into the art of coffee roasting, eager to unlock new depths of taste.
Exploring Different Roast Levels

I’ve discovered that exploring different roast levels is key to mastering home coffee roasting. I’ll examine the characteristics of light, medium, and dark roasts, highlighting their unique flavors and aromas. I’ll also share my experiences experimenting with roast profiles, helping you develop your own perfect cup. Understanding these levels is crucial for unlocking the full potential of your green coffee beans.
Characteristics of Light Roasts
I’ve found that light roasts preserve the unique characteristics of green coffee beans, offering a bright acidity and complex flavor profile. These roasts typically reach an internal bean temperature of 356°F to 401°F (180°C to 205°C), just past the first crack. I’ve noticed that light roasts retain more of the bean’s original flavor, often displaying floral, fruity, or herbal notes.
In my experience, light roasts tend to have a higher caffeine content and a lighter body compared to darker roasts. I appreciate how these roasts showcase the bean’s origin characteristics, making them ideal for single-origin coffees. When brewing light roasts, I’ve discovered that they often require a finer grind and slightly lower water temperature to extract their delicate flavors fully.
Understanding Medium Roasts
I’ve found that medium roasts strike a balanced flavor profile, offering a harmonious blend of the bean’s original characteristics and roast-induced flavors. These roasts typically reach internal temperatures between 410°F and 428°F (210°C to 220°C), developing during the gap between first and second crack. I’ve noticed that medium roasts often exhibit a fuller body than light roasts, with a more balanced acidity and sweetness.
In my experience, medium roasts showcase caramel and chocolate notes while still retaining some of the bean’s unique origin flavors. I appreciate how these roasts offer versatility in brewing methods, performing well in both espresso and filter coffee preparations. When working with medium roasts, I’ve found that adjusting the grind size and extraction time can help highlight either the brighter or more developed flavors, depending on personal preference.
Diving Into Dark Roasts
I’ve found that dark roasts develop intense, bold flavors with a pronounced bitterness and reduced acidity. These roasts typically reach internal temperatures between 430°F and 450°F (221°C to 232°C), well into the second crack. I’ve noticed that dark roasts often exhibit a shiny, oily surface due to the oils being brought to the bean’s surface during the extended roasting process.
In my experience, dark roasts showcase deep, rich flavors like dark chocolate, caramel, and sometimes even smoky notes. I’ve learned that these roasts tend to have a fuller body and a more robust mouthfeel compared to lighter roasts. When brewing dark roasts, I often use a coarser grind and slightly higher water temperature to balance the intense flavors and avoid over-extraction.
Experimenting With Roast Profiles
I’ve found that experimenting with roast profiles is crucial for developing unique flavors in home-roasted coffee. By adjusting factors like heat application, airflow, and roast duration, I can create custom profiles that highlight specific characteristics of the green beans. This process allows me to fine-tune the roast to bring out subtle nuances or emphasize bold flavors, depending on my preferences.
Through trial and error, I’ve developed several signature roast profiles for different bean origins. For example, I use a gentle heat ramp for delicate Ethiopian beans to preserve their floral notes, while I apply a more aggressive profile to Brazilian beans to enhance their nutty flavors. Keeping detailed records of each roast helps me replicate successful profiles and continually refine my technique.
The beans crackled and darkened, revealing their hidden flavors. Now, we must preserve their essence.
Cooling and Storing Your Roasted Beans

After roasting, I focus on cooling and storing my beans to preserve their freshness and flavor. I’ll share effective cooling methods, proper storage techniques, and the importance of degassing. These steps are crucial for maintaining the quality of home-roasted coffee and ensuring each cup reflects the care put into the roasting process.
Effective Methods for Cooling Beans
I’ve found that rapid cooling is crucial for preserving the flavor of freshly roasted coffee beans. I use a two-step cooling process, starting with a colander to shake the beans and release excess heat. This method allows me to quickly bring down the temperature of the beans, preventing over-roasting and preserving their unique flavor profile.
After the initial cooling, I spread the beans on a flat, perforated tray to allow air circulation. This second step ensures even cooling and helps remove any remaining chaff. I’ve noticed that this method not only cools the beans efficiently but also helps maintain their optimal moisture content, which is essential for flavor development during storage.
Proper Storage Techniques
I store my freshly roasted coffee beans in airtight containers to maintain their flavor and aroma. I’ve found that using containers with one-way valves allows excess CO2 to escape without letting oxygen in, which helps preserve the beans’ quality. I always label each container with the roast date and bean origin to track freshness and flavor development.
I keep my roasted beans away from direct sunlight, heat, and moisture to prevent premature aging. I’ve discovered that storing beans at room temperature in a cool, dark place yields the best results. For longer-term storage, I portion larger batches into smaller, vacuum-sealed bags to minimize exposure to air. Here’s my storage process:
- Cool beans completely
- Transfer to airtight containers
- Label with roast date and origin
- Store in a cool, dark place
- Use within 2-4 weeks for optimal flavor
The Importance of Degassing
I’ve learned that degassing is crucial for developing the full flavor profile of freshly roasted coffee beans. After roasting, beans release carbon dioxide for several days, which can affect the taste if brewed too soon. I allow my beans to degas for 24-48 hours before grinding and brewing, ensuring optimal flavor extraction.
During the degassing period, I store my beans in containers with one-way valves to release excess gas while preventing oxygen exposure. I’ve found that different roast levels require varying degassing times: lighter roasts typically need less time, while darker roasts benefit from longer periods. Here’s my degassing guide:
The beans cooled, ready for storage. Now, let’s tackle the challenges that can arise during roasting.
Troubleshooting Common Roasting Issues

I’ve encountered several common roasting issues in my home coffee roasting journey. Here, I’ll share my experiences with uneven roasts, preventing scorching, and adjusting time and temperature settings. These insights will help you troubleshoot problems and achieve consistent, high-quality roasts at home.
Dealing With Uneven Roasts
I’ve found that uneven roasts often result from inconsistent heat distribution in the roaster. To address this issue, I ensure my roaster is preheated properly and that I’m using the correct batch size for my equipment. I’ve also learned to agitate the beans more frequently during roasting, either by stirring or using a roaster with a built-in agitation system.
When I encounter uneven roasts, I carefully examine the beans to identify patterns in the inconsistency. If I notice that certain areas of my roaster are producing darker beans, I adjust the heat application or modify my roasting technique to compensate. I’ve found that keeping detailed roast logs helps me track these adjustments and improve my results over time.
Preventing Scorching and Burning
I prevent scorching and burning by carefully controlling the heat during the roasting process. I start with a lower temperature and gradually increase it, monitoring the beans closely for any signs of excessive darkening or smoke. When I notice these indicators, I quickly reduce the heat or increase airflow to prevent scorching.
To further avoid burning, I’ve learned to pay close attention to the sound of the beans cracking. I listen for the first and second cracks, using them as timing cues to adjust my roast profile. By maintaining a consistent roasting environment and responding promptly to changes in bean color and aroma, I’ve significantly reduced instances of scorching and burning in my home roasts.
Adjusting Time and Temperature Settings
I’ve learned that adjusting time and temperature settings is crucial for achieving the perfect roast. When I encounter issues like slow development or rapid roasting, I carefully modify my roast profile. For slower development, I increase the temperature slightly or extend the roast time, while for overly quick roasts, I reduce the heat or shorten the overall duration.
Through experimentation, I’ve discovered that small adjustments can significantly impact the final flavor. I maintain detailed records of each roast, noting the time and temperature changes along with the resulting taste profiles. This practice allows me to fine-tune my settings for different bean varieties and achieve consistent, high-quality roasts tailored to my preferences.
Roasting problems solved, you’re ready for more. Let’s take your skills to the next level.
Enhancing Your Home Roasting Skills
I’ve found that enhancing home roasting skills involves several key practices. Keeping a detailed roasting log helps track progress and refine techniques. Exploring new bean origins expands flavor profiles and roasting knowledge. Joining home roasting communities provides valuable insights and support. Blending different roasts creates unique flavors, allowing for personalized coffee experiences. These approaches have significantly improved my roasting abilities.
Keeping a Roasting Log
I’ve found that keeping a detailed roasting log is crucial for improving my home coffee roasting skills. In my log, I record essential information such as bean origin, roast date, roast level, and any specific observations during the process. This practice helps me track my progress and identify patterns that lead to successful roasts.
By consistently updating my roasting log, I can refine my techniques and replicate my best results. I often refer back to previous entries when working with similar beans or aiming for specific flavor profiles. This systematic approach has significantly enhanced my ability to produce high-quality roasts tailored to my preferences.
Trying New Bean Origins
I’ve discovered that trying new bean origins is essential for expanding my home roasting skills. Each origin brings unique flavor profiles and roasting challenges, allowing me to broaden my expertise. I regularly source beans from different regions, exploring how altitude, soil, and processing methods affect the roasting process and final cup quality.
By experimenting with various origins, I’ve learned to adjust my roasting techniques to highlight each bean’s distinct characteristics. This practice has significantly improved my ability to create customized roast profiles and has deepened my understanding of coffee’s diverse flavors. Here are the key benefits I’ve found in trying new bean origins:
- Expanded flavor palette
- Improved roasting adaptability
- Enhanced understanding of origin-specific roasting requirements
- Greater appreciation for coffee’s diversity
- Ability to create unique blends
Joining Home Roasting Communities
I’ve found that joining home roasting communities has significantly enhanced my skills and knowledge. These groups provide a wealth of information, from troubleshooting tips to advanced roasting techniques. I regularly participate in online forums and local meetups, where I can share experiences and learn from other enthusiasts.
Through these communities, I’ve gained access to valuable resources such as roasting profiles, equipment reviews, and green bean sourcing recommendations. The collaborative nature of these groups has accelerated my learning curve and helped me avoid common pitfalls. Here are the key benefits I’ve experienced from joining home roasting communities:
- Access to expert advice and peer support
- Exposure to diverse roasting methods and equipment
- Opportunities for coffee tastings and skill-sharing events
- Increased awareness of industry trends and innovations
- Networking with like-minded coffee enthusiasts
Blending Different Roasts for Unique Flavors
I’ve discovered that blending different roasts creates unique flavor profiles in my home-roasted coffee. By combining light, medium, and dark roasts, I can achieve complex taste experiences that aren’t possible with single roasts. I often experiment with various ratios, finding that a blend of 60% medium roast with 30% light and 10% dark roast produces a well-balanced cup with depth and brightness.
Through careful blending, I’ve learned to enhance specific flavor notes and balance acidity levels. For example, I might add a small portion of a bright, fruity light roast to a predominantly medium roast blend to introduce subtle citrus notes. This approach allows me to craft personalized coffee blends tailored to my taste preferences, elevating my home roasting skills and expanding my coffee flavor palette.
Frequently Asked Questions
What are the benefits of roasting coffee beans at home?
Roasting coffee beans at home offers fresher, more flavorful brews, customizable roast levels, and cost savings. It allows coffee enthusiasts to explore different bean origins, experiment with roasting techniques, and enjoy the aroma of freshly roasted coffee in their own kitchen.
What essential equipment do I need to start home coffee roasting?
To start home coffee roasting, you’ll need a roaster (air popper, drum roaster, or heat gun), green coffee beans, a cooling tray, storage containers, and a scale. Optional equipment includes a thermometer, timer, and smoke detector for safety and precision.
How do I choose the right green coffee beans for roasting?
When choosing green coffee beans for roasting, consider factors like origin, variety, processing method, and flavor profile. Look for high-quality beans from reputable suppliers, and select based on your desired roast level and taste preferences. Experiment with different beans to find your favorites.
What are the different roast levels and how do they affect flavor?
Coffee roast levels range from light to dark, affecting flavor profiles significantly. Light roasts offer bright acidity and floral notes, medium roasts balance acidity with body, and dark roasts provide bold, rich flavors with less acidity. The roasting process caramelizes sugars and develops oils, influencing taste complexity.
How should I store freshly roasted coffee beans for optimal freshness?
Store freshly roasted coffee beans in an airtight container, away from light, heat, and moisture. Place the container in a cool, dark pantry or cupboard. Avoid refrigeration or freezing, as temperature fluctuations can affect flavor. Use within 2-4 weeks for peak freshness.
Conclusion
Mastering the art of roasting green coffee beans at home empowers coffee enthusiasts to create personalized, high-quality brews tailored to their exact preferences. Through careful selection of green beans, precise control over roasting parameters, and meticulous attention to cooling and storage techniques, home roasters can unlock a world of complex flavors and aromas unattainable with pre-roasted coffee. This hands-on approach not only enhances the coffee experience but also fosters a deeper appreciation for the craft, origin, and nuances of coffee production. By embracing home roasting, individuals can elevate their coffee journey, support sustainable practices, and continually refine their skills to achieve the perfect cup. Make sure to check out our line of home coffee roasting machines.